How to Disable Twitch Notifications on Desktop
Twitch Notifications are an essential feature of online services, designed to keep you informed about activities on the platform. However, they can become a source of distraction when you’re trying to focus on important tasks. For instance, receiving a notification that your favorite streamer is going live while you’re working on a crucial project can be tempting. To regain control over your concentration, it’s advisable to disable notifications from Twitch. In this section, we will walk you through the process step by step.
Step 1: Log in to Your Twitch Account
The first step to disabling Twitch notifications on your desktop is to open your web browser and navigate to the Twitch website. If you aren’t already logged in, make sure to log in to your Twitch account.
Step 2: Access Notification Settings
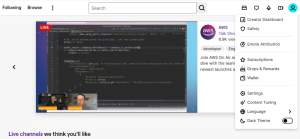
Once you’re logged in, click on your profile icon located in the top-right corner of the Twitch website. A dropdown menu will appear, and from this menu, select “Settings.”
Step 3: Navigate to Notifications
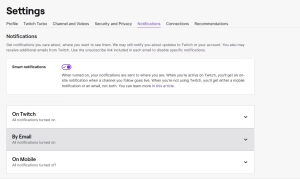
In the Settings menu, you’ll find a tab labeled “Notifications.” Click on this tab to access your notification settings.
Step 4: Customize Email Notifications
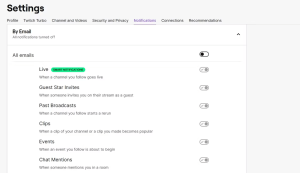
Under the “By Email” section, you’ll see a drop-down icon. Click on it to reveal a list of activities for which Twitch sends email notifications. To reduce distractions, disable the toggle next to activities that you find irrelevant. For a more comprehensive approach, you can disable all activities at once by toggling off “All emails.”
Step 5: Fine-Tune Twitch Notifications
To further refine your notification preferences while actively using Twitch, navigate to the “On Twitch” drop-down menu. Here, you can disable any irrelevant notifications that may disrupt your workflow.
By following these steps, you can regain control over your desktop Twitch notifications and create a more focused work environment.
Disable Twitch Notifications on Mobile
Disabling Twitch notifications on your mobile device is a straightforward process that allows you to maintain your concentration without interruptions. Here’s how to do it:
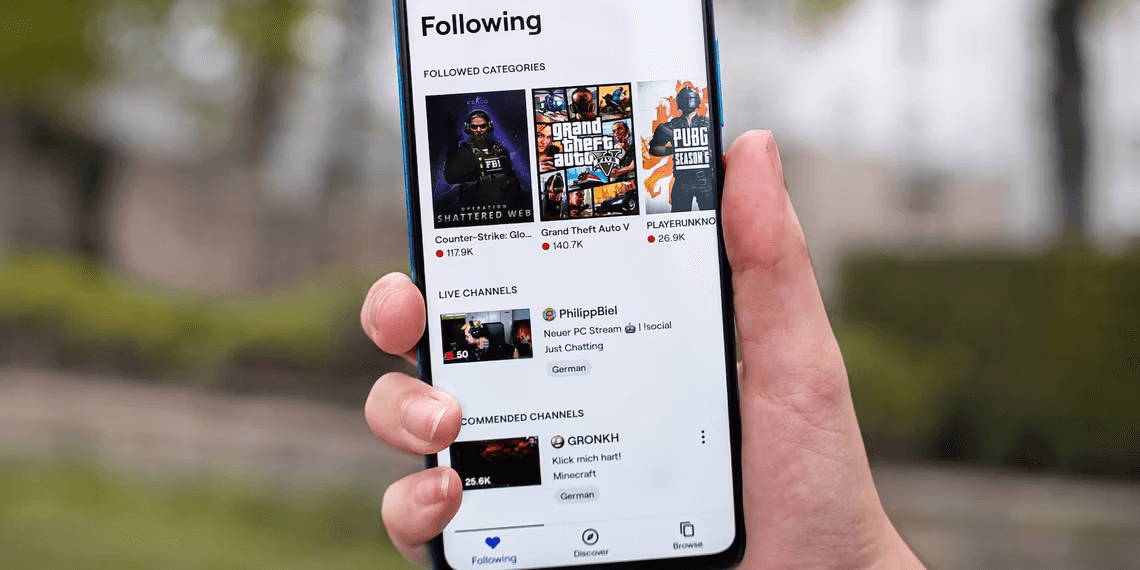
Step 1: Launch the Twitch App
Begin by opening the Twitch mobile app on your device. If you’re not already logged in, make sure to log in to your Twitch account.
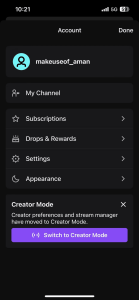
Step 2: Access Notification Settings
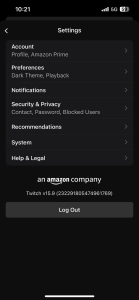
After launching the app, tap on your profile icon located in the top-left corner. This action will open a menu, and from this menu, select “Settings.”
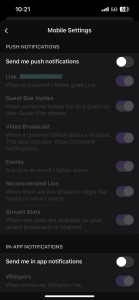
Step 3: Turn Off Push Notifications
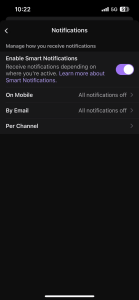
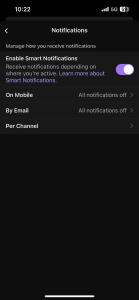
Within the Settings menu, you’ll find an option labeled “Notifications.” Tap on this option and then select “On Mobile.” Here, you can disable the toggle next to “Send me push notifications.”
Step 4: Disable Email Notifications
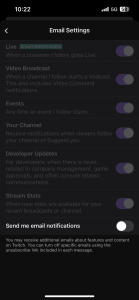
To stop receiving Twitch email notifications, tap on “By Email” and turn off the “Send me email notifications” toggle.
Step 5: Channel-Specific Notifications
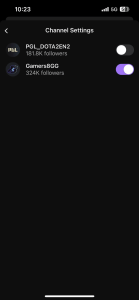
If you wish to fine-tune your notifications even further and only disable notifications for specific channels, tap “Per channel.” Here, you can disable the toggle next to the channels whose notifications you no longer wish to receive.
By following these steps, you can effectively manage Twitch notifications on your mobile device, allowing you to focus on what matters most without distractions.

